Blogger Widgets Blogger Widgets Blogger Widgets

Ads 1px1px

Friday, December 21, 2012

OOTD: Highlights and Outfits

Hello lovelies! I hope you girls are enjoying this new beauty blog community and loving these fabulous blog posts by all these girls! 
It was that time of the year to get rid of the caramel highlights in my hair and switch to a dark brunette color that I haven't had in my hair for over 4 years, so this change was much needed! I had this amazing opportunity to work with a spa and they were so generous to help me get the color I have been wishing for, and they nailed it. I wanted to 
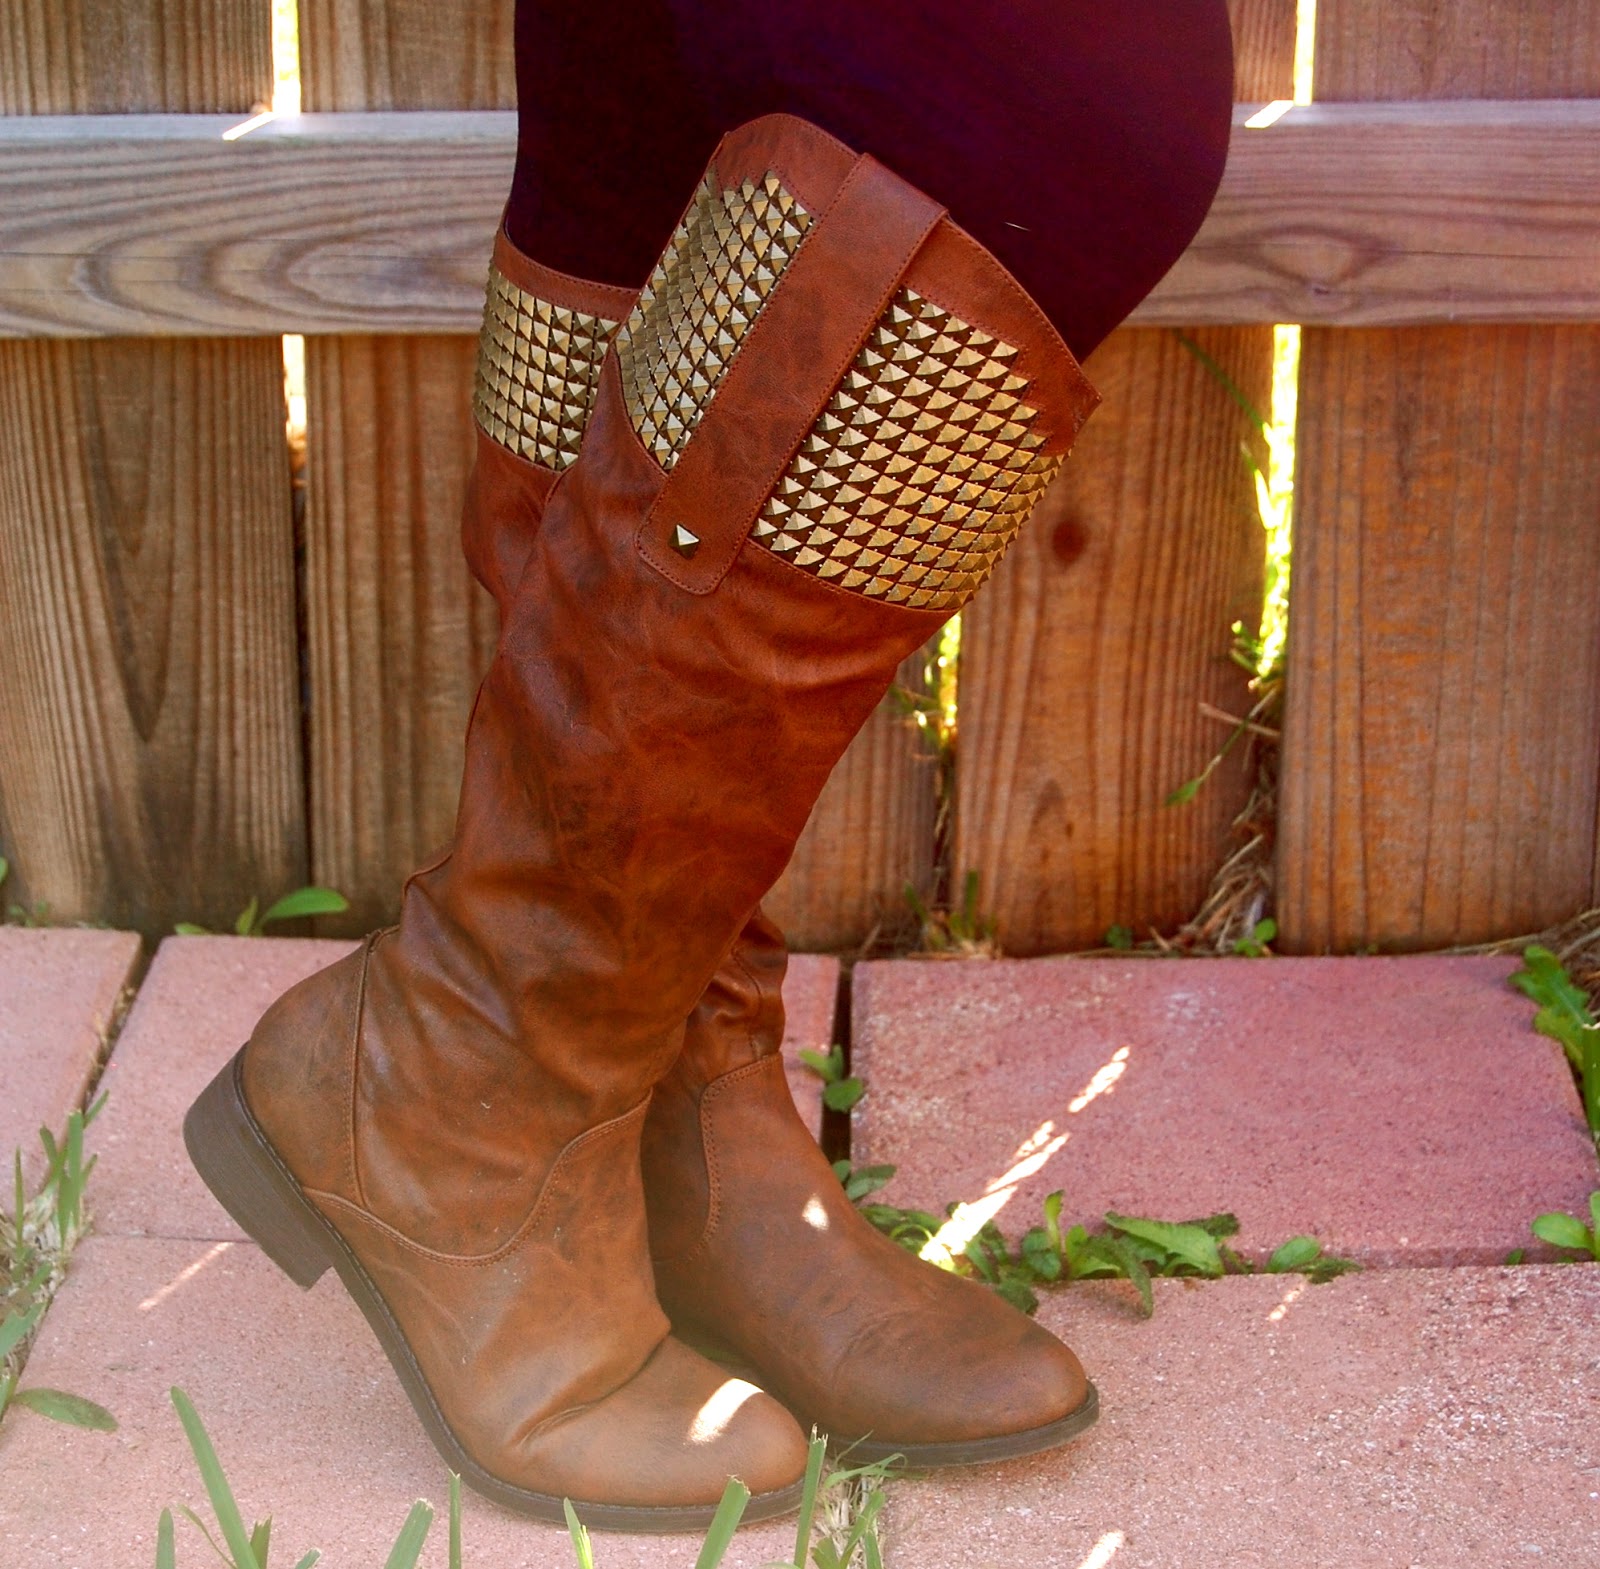
share with you girls the results and also my outfit of the day. I'm really having fun with these outfit of the day posts (OOTD) so if you girls would like to see some more - let me know on Contact Us, and I will make it happen! Hope you girls enjoy this post!

Love,
Natasha Marie

(See Hair Dying Blues for important tips on dying your hair)


Wednesday, December 19, 2012

Christmas Nails

I recently came across Beauty Care Me and found something you guys would be interested in. This beauty blog has some very great material and inspired me to redo my nails. I will be redirecting you to some of Beauty Care Me's Holiday Nail Art Tutorials!
{Click on the nail tutorial to view the video} 

I hope these nail art tutorials help you decide the theme for your latest holiday makeup ensemble. I'm about to re-do my nails so that I can finally show them to you all. Until then...

Jingle all the way...

~Zoe Fields~

Tuesday, December 18, 2012

Christmas Eye Look

 So recently I was browsing through Nerdy Girl Makeup and I found a post for a Christmas Makeup Look and It was so cute that I couldn't resist posting this.
Connect the end of the liner to a bow and place a red gem in the center
EYES - Too Faced Shadow Insurance (to prime lid) - MAC E/S in “Ricepaper” (highlight) - MAC E/S in “Humid” (entire lower lid, just below crease) - MAC E/S in “Juxt” (apply with a small fluffy blending brush just above crease, where Humid and Ricepaper meet) - Inglot AMC Eyeliner Gel in “77″ (upper lash line; create a wing and then draw a bow, with one end connecting to the wing) - Maybelline The Falsies Volum’Express Waterproof Mascara in “Very Black” (two coats on top and one coat on bottom lashes) - Swarovski flat back crystal (red crystal on center of bow; apply with Duo Eyelash Adhesive) (taken from nerdygirlmakeup.com) I just loved this look a lot but I altered my own look and added a little bit of red the eyeshadow to add a little more Christmas feel to it. I'd love to see your Christmas look because you only have 7 days left to come up with one worthy enough for the holidays!

I hope you guys have fun putting on the last touches to your Christmas decorations!

Rudolph the red-nosed reindeer...
 
~Zoe Fields~

Sunday, December 9, 2012

Hair Dyeing Blues

Hey, beauty addicts! This week I wanted to share with you 6 Friendly Tips on Dyeing Your Hair. You can also find this post on my blog, Aisles of Beauty. You see, a few weeks ago I was the lead in a comedy called The Curious Savage. I played Mrs. Savage, an eccentric elderly lady that hides millions of dollars in a giant teddy bear, and dyes her hair crazy colors. So, in the spirit of my character, I had to dye my hair blue. Yes, blue.


It was the first time I had done anything to my hair besides a few trims at the salon, and I had no clue where to even begin. So I thought I'd give you a few tips on dyeing your hair in case you're like me, and have no clue where to start. Keep in mind these tips are all from my experience, and I used a temporary rinse blue dye.

1. Pick a good brand. The quality of the dye you choose all depends on the brand you buy. I went to a place called House of Beauty, and the employees helped me find a good brand for my hair. Hair dye is one of those things that's worth the splurge.

2. Dark haired girls, beware! For girls with dark hair like mine, bleaching is often necessary to get the color you want. But bleaching is unhealthy, and can mess up your hair permanently. Talk with a professional for other options... Unless you plan on dyeing your hair permanently.

3. Get some help. Whether you're getting it dyed in a salon, or dyeing it at home like I did, you'll want an extra set of hands to help. My mom helped me get all the blue coloring in my hair, and helped me do all the rinsing and such.

4. Read the directions. This is an obvious step, but different brands have different methods, it isn't the same process... Especially with how long you leave your hair under the dryer. Some brands say 10 minutes, others say 30. Pay attention!

5. Avoid the skin. Most hair dyes will tell you to use cream or petroleum jelly to guard your hairline, and that's important. I spent 20 minutes with a bottle of rubbing alcohol trying to get blue spots off of my face and hands. Cover up and wear gloves!

6. Know what you're doing. Woops! You accidentally got permanent dye rather than semi permanent! Now you're stuck with pink hair forever! Oopsies! Yeah, don't let that happen. Talk with professionals (employees at beauty stores, your hairdresser, your neighbor that just happens to be an expert dyer...) before doing anything you're unsure about. This is changing your hair color we're talking about!

My personal experience was odd. I dyed it without bleaching, and I have naturally dark brown hair. So it looked black with little blue highlights... We ended up having to use halloween spray on show nights. It was a good learning experience though!


Monday, December 3, 2012

Ombre Lips

Hello Ladies! So as many as you all have seen in the make-up world, Ombre lips have become a very popular make-up trend, so I will show you  how to achieve Ombre lips [the easy way] 
So Lets get started....

1.First start with moisturized lips.

I use my own homemade lip scrub to exfoliate my lips at least once a week.

2.Then I apply lip balm [here I am using Maybelline baby lips]. Then choose a lipliner about 2-3 shades darker than the lipstick you want to apply. 
3.Now, thickly line your lips leaving the middle portion free of product.

4. Take your lipstick [here I am using Wet N Wild’s 901B Think Pink lipstick],
and apply it to the middle portion of the lips. Take your lipliner and re-line your lips to blend the edges. To blend it even more, take your finger and blend the edges where the lipliner and lipstick connect.

The finished look
5. To add more shine apply a clear lipgloss or a lipgloss the same shade as your lipstick.
What I used
NYX lipgloss in Lilac Petal
Wetnwild lipstick in Think Pink
NYX lipliner in Pinky
-Sofia 


Saturday, December 1, 2012

Achieve a Winged Liner Look!


Hey gorgeous ladies,
I'm going to show you all today how to achieve a winged liner look!
It's very easy and just takes a little practice to get the top line to be perfect.
During the week days I usually do this look (my top liner is much thinner but I made this a thicker look so you can see more in detail how everything goes) - very simple yet with a little touch of "I don't look sleepy today!" So the weekdays are usually just mascara and a winged liner on top and other days just plain mascara. Now, on the fun nights out I usually wear a more thick top liner and some pencil/colored liner on my waterline! Liner makes such a difference, mascara alone does wonders! It always makes you look a little more polished and more awake :)

Now let's get started...


1.) You can either start with applying your mascara before or after you decide to add your liner. For me, since my lashes are extra long I usually apply my mascara first. When I'm doing makeup on clients I do liner first and then mascara. Which ever is easier for you.

2.) Pick out your favorite liquid liner. (My favorite is posted down below and I'll write a little more description down below)

3.) Since I have used liquid liner forever I can pretty much do this look in 10 seconds (really!) But if you are practicing or trying to use liquid liner, start in the middle of your top eyelid..make a straight line that ends at the end of your top lid. Then, connect the liner from the inner part of your eyelid until it looks completely straight. You can either go with a thin or thick line whichever you like best :)

4.) Then (3rd photo on the left bottom corner) form the winged line of your choice. I chose to do mine straight out and then connect it. You can do a small/large/more up/more winged completely up to you. As long as you form the look you want you will be okay, then just fill in the empty part.

5.) Now, you can add any eyeshadow or highlight to your eyes to give it a little spark!

& YOU'RE DONE! :)


This is my ultimate favorite liquid liner; L'oreal Paris Lineur Intense liquid liner in Carbon Black. You can find this at Walmart, Target, CVS, RiteAid etc. It's about $8 if I remember correctly, but nonetheless no more than $10 (hello, bargain!) This liner is pretty much the same as the Lancome Artliner which I also love as well but they are completely the same! Except the Lancome liner is about $30. I definitely recommend the L'oreal Paris liquid liner, I've been using it forever! & very affordable for anyone just getting into makeup or looking for a new one to try out :)

Hope you all enjoyed this little 'how to'
Hope you girls are having a FABULOUS week as well,

xo Love.
Natasha Marie

Pause for a few seconds everyday & realize how beautiful life really is. We only have one life to live, make it worth while.

My Latest Obsession: E.L.F. Shimmer Lip Gloss~Dream

My Latest Obsession

So I found this while glancing in the makeup aisle because I was in need for some pretty lip gloss to match my glitzy look for a party, and I came across this spectacular product.
e.l.f. Shimmer Lip Glosses
This e.l.f. product is wild-tastic and leaves your lips glimmering in the sun. When you apply it, there is a cool sensation over your lips and leaves them looking amazing. This shimmer gloss is great for parties or just going to the mall with your girlfriends. I liked this product so much, I bought two others from the collection; Love and Inspire. Love is a deep raspberry color, Inspire is a lavender color, and Dream is a light pink-ish orange color, like peachy. I love them all!

Now, if you need inexpensive but quality makeup, I would buy e.l.f. products or New York Color because they are reliable and affordable. Simple and Safe. But if you want to go all out and splurge on makeup, then shop Sephora because their products will make you pop and dazzle (and make everyone in the room jealous ;) And that, my friends, is My Latest Obsession.


 P.S. You can buy this shimmer gloss for only $1.00 at most mini markets like Walgreens, CVS, Rite Aid, etc. This lip gloss is in a skinny tube so it may run out fast if you use it too often, but a little does go a long way! The great thing about this product is that you can buy 3 tubes of this lip gloss for only $3.00! Trust me, its a pretty great deal!

Icing's Bold Smokey Expert Eye Palette Review

Icing by Claire's Bold Smokey Expert Eye Palette
Hello, iMakeup Guru Girls! Today I'm sharing with you a review of an eyeshadow palette I bought at Icing by Claire's. If you are unfamiliar with the franchise, Claire's is a tween store where you can buy accessories––Jewelry, makeup, bags, etc. Icing by Claire's is the more... young adult version of that. The makeup department is a bit more mature, so I went there to look for a new eyeshadow palette.

I bought Icing's Bold Smokey Expert Eye Eyeshadow Palette for $12.50, which I'd say is a fair price. The palette features a dozen rich colors; glimmer, stardust, romance, edgy, urban chic, rosebud, fierce, twinkle, royalty, beach bum, jaded, and LBD. 

To test out these colors, I used one of my own eyeshadow brushes, because I prefer to use the cottony things they give you for blending. I swiped my brush across a color, and then applied it to my arm, and did the same with each one, because eyeshadows rarely look the same on your skin as they do in the package. 


Not only is each color unique and vibrant, but these eyeshadows are long lasting. I've worn my fair share of eyeshadows that disappear within the hour, but after applying these colors over 30 minutes ago, they still look like they did when I had just put them on. These colors will last a whole night!

My personal favorites are stardust, romance, rosebud, fierce, and twinkle because I have a girly, glitzy style, and these colors sparkle the most against my complexion. This eyeshadow palette has been worth every penny!

Rating: ☆☆☆☆☆ (5 out of 5 stars)

Stay beautiful iMakeupGuru Girls!


Dear Beauty Addicts,


   Dear Beauty Addicts,

   iMakeupGuru is a dedicated beauty blog and it isn't your average one. iMakeupGuru consists of beauty  gurus around the internet that connect with you and post all beauty related topics to better acknowledge your growing love for cosmetics, clothes, jewelry, shopping, and anything else beauty related. These beauty gurus will show you how to put on eyeshadow like a pro, which cosmetics give you stellar results, how to put on a fresh face of the day, look great for a party or casual get together, and so much more. If you were ever lost in the world of makeup, you'll find your way once your done learning from the gurus themselves. Trust us, this will be spectacular!

   Sincerely,

   The iMakeupGuru Team


Other Advice

With beauty, there is fashion. Our other style blog is iFashionGuru. iFashionGuru is built to help make your toughest fashion decisions. Is Tangerine Tango still a wise color choice? Or should I try Lusty Lime as my new color theme? iFashionGuru will inform you of all the latest fashion trends worldwide. In fact, if you happen to live outside of America, iFashionGuru is starting a segment called "Fashion Worldwide," where they blog about universal fashion.

Our Purpose

iMakeupGuru doesn't just blog about cosmetics to gain viewers. We are a community and we blog because it brings joy to our eyes when helping teens find their inner beauty using colors and designs. Makeup is a way to express yourself, to tell people who you are, to give an impression. iMakeupGuru wants to help give back to the world by sprinkling a little beauty advice here and there, to make sure teens express themselves to their fullest extent. iMakeupGuru loves you all!

Disclaimer

All information on this blog is accurate and honest. The comments made on cosmetics and beauty products are honest opinions and therefore, can not be held against the writer because their personal experience may differ based on skin type, preferences, and past use of product. iMakeupGuru does not affiliate with any company, therefore we are not required to write specified posts on company products for advertisement, unless stated otherwise. If there are any copyright issues you may have, please inform us on the Contact Us page.